Bathtub Installation & Replacement Guide
Short answer: installing a bathtub is a two-day, two-skill project — the tub setting is DIY-realistic (level it on a mortar bed, connect the drain), while the drain-and-supply work is where licensed hours and permits belong. A like-for-like replacement runs $1,500–$4,000 installed; the tub material choice (acrylic vs cast iron vs steel vs fiberglass) drives both the price and the weight that walks through your doorway.
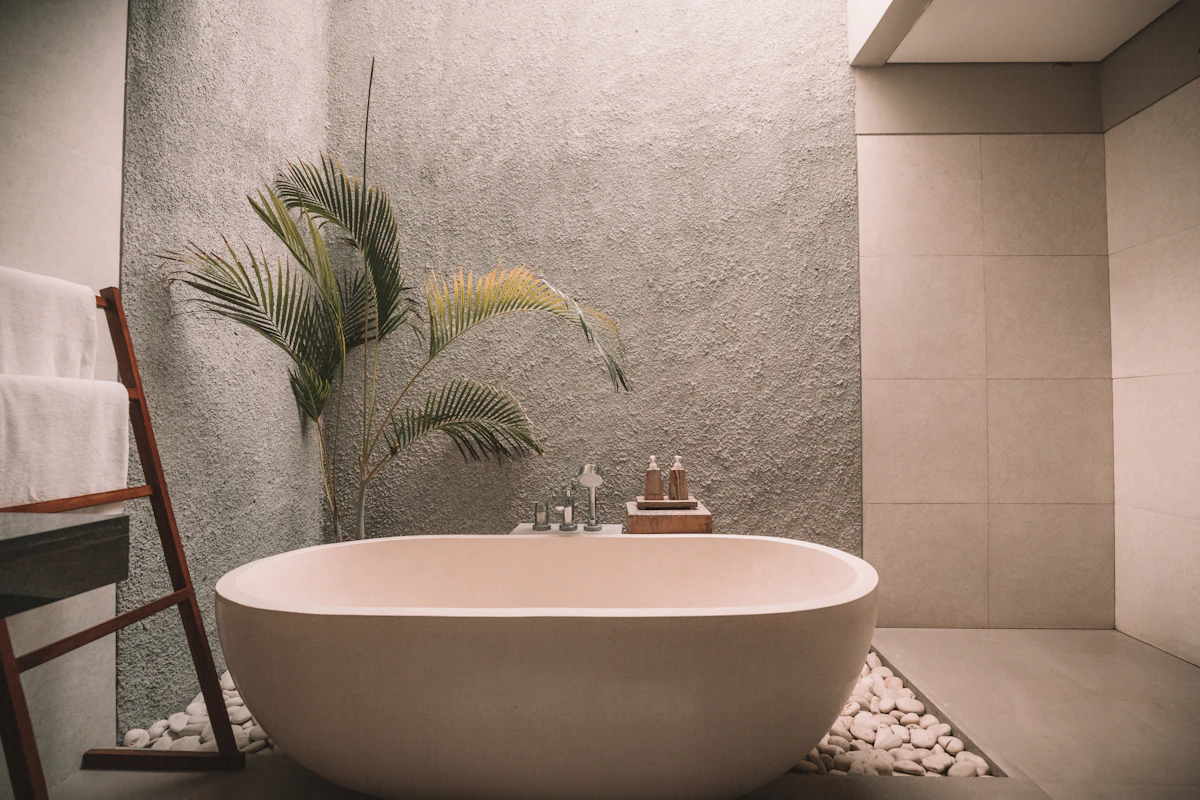
Bathtub types compared: price, weight, longevity, install difficulty
The material is the first decision because it determines everything downstream: the budget line, whether two people can carry it, whether it chips, and how it sounds filling. Typical US retail and installed figures below are planning ranges.
| Tub type | Tub price | Weight (empty) | Typical lifespan | Install difficulty | Notes |
|---|---|---|---|---|---|
| Fiberglass / composite | $150 – $400 | 50 – 75 lb | 10 – 15 yrs | Easy | Cheapest and lightest; surface wears first; flexes without proper bedding |
| Acrylic (standard alcove) | $300 – $900 | 70 – 100 lb | 15 – 30 yrs | Easy – moderate | The default replacement; warm to touch, repairable, wide selection |
| Steel enameled | $200 – $500 | 90 – 130 lb | 20 – 30 yrs | Moderate | Durable and budget-friendly; chips show metal; louder fill |
| Cast iron enameled | $400 – $2,000 | 300 – 500 lb | 30+ yrs | Hard | The longevity pick; two-person lift or breaker; needs reinforced subfloor |
| Drop-in / freestanding | $400 – $1,500+ | 100 – 500 lb | 15 – 30+ yrs | Hard | Finish work is custom framing/decking; often special-order; plumbing planned around the tub |
Data nature: typical US retail ranges compiled for planning from common product categories; individual models vary. Longevity assumes normal household use and correct installation (bedding, level set, sealed flange).
How to install a bathtub: the six-stage sequence
The sequence assumes a like-for-like alcove replacement. Removal detail — protect, disconnect, extract — overlaps with the conversion teardown covered in our tub-to-shower guide; this page focuses on what happens when a tub goes in.
Verify the tub, the alcove and the drain end
Confirm the replacement matches the alcove (standard 60×30 or 60×32 inches), drain orientation (left or right as you face the tub), and overflow position. Measure the doorway path too: a 60-inch tub turns diagonally through a 28-inch door only with room to spare — a real delivery failure, not a joke.
Protect, disconnect, remove
Shut off supplies and disconnect the drain-and-overflow assembly; strip the surround; pull the tub (acrylic lifts out; steel is heavy; cast iron needs two people or a breaker). Inspect what the tub was hiding — subfloor condition and flange state — before anything new arrives.
Set the new drain and overflow
Install the new drain-and-overflow kit with putty or gasket seals per its spec, hand-tight plus a quarter turn. Test-fit the tub dry before final connection — this is the cheapest leak-detection moment in the whole project. Licensed scope starts wherever supply lines or valves are touched.
Bed the tub: mortar or foam supports
Mix a bed of sand-mix mortar (or set the manufacturer's structured supports), slide the tub in over the drain shoe, and press level — checking both directions and the apron straightness. A level tub now is a non-squeaking, non-cracking tub for its whole service life.
Connect, flange and surround
Fasten the tub flange to studs, shim against out-of-plumb walls (a full shimming detail most DIY guides skip — the tile line rides on it), then set the surround or tile field. Install the spout and trim only after waterproofing and cure stages complete.
Fill test and final seal
Fill the tub to the overflow, hold overnight (or per inspection requirements), and check the ceiling below and the drain joints for any weep. Caulk change-of-plane joints with 100% silicone. The overnight fill test is the final verification most rushed installs skip — and the one that catches what putty seals missed.
❌ The mistake that floods ceilings
Skipping the dry fit and the overnight fill test. A drain shoe misaligned by a quarter-inch, or an overflow gasket seated dry, passes the day-of check and weeps for months into the ceiling below. The sequence's two verification moments — dry fit at stage 03, fill test at stage 06 — exist precisely because drain-and-overflow leaks are invisible until they are expensive.
Plumbing connections and the leveling detail most guides skip
The drain-and-overflow assembly is the tub's only permanent plumbing connection, and it is assembled blind — underneath the tub, through the apron or an access panel. The kit pairs a shoe (under the tub) with an overflow tube (at the flange), joined by a pipe that must match your tub's exact geometry, which is why kits are tub-type-specific and why "a drain kit" is not a universal part. Seals are putty or gasket per spec — putty on the shoe flange against the tub bottom, gasket orientation on the overflow exactly as drawn — and every joint gets the dry fit plus the fill test, never just one.
Shimming is the other under-taught step. Real walls are out of plumb, and a tub set level against an out-of-plumb wall leaves a variable gap at the flange that tile must then ride over. Shimming the studs to the tub flange — making the tub plane the reference plane — is what separates a tile line that runs true from one that wanders or cracks a grout joint in year two. It costs ten minutes and a handful of shims while the walls are open.
Where the licensed line sits: supply connection, valve work, and anything touching the home's piping system. In most jurisdictions a like-for-like drain-and-overflow swap sits in DIY-permitted territory, but supply rough-in and valve replacement do not — and a permit with its two inspections ($150–$800) is cheap documentation at sale time. When the project is really a full room refresh around the new tub, the main remodel calculator's Pull & Replace scope prices the tub, tile, floor and vanity as one coordinated line — this guide covers the tub line; the room line stays there.
Bathtub installation cost: the line items
| Line item | Typical range | When it applies |
|---|---|---|
| Tub itself | $150 – $2,000 | Material choice — see the type table above |
| Removal & disposal | $150 – $500 | Almost always; cast iron adds muscle or breaker cost |
| Drain-and-overflow kit | $40 – $120 | Every replacement — never reuse the old kit |
| Plumber labor (connect + verify) | $600 – $1,500 | Like-for-like swap, accessible alcove; relocations add more |
| Surround / wall finish | $300 – $1,200 | If the wet walls are replaced with the tub |
| Mortar, shims, silicone, supplies | $40 – $100 | Every install |
| Permit (if drain/supply altered) | $150 – $800 | Jurisdiction-dependent; documented work resells better |
Data nature: typical US market planning ranges. A like-for-like acrylic replacement in an accessible alcove sums to roughly $1,500–$4,000 all-in, matching the headline figure.
If the "replacement" is really a different fixture — walk-in tub for accessibility or a walk-in shower conversion — those are different projects with different economics: see the tub cut-out & walk-in tub guide and the DIY tub-to-shower conversion guide. And if the tiling around the new tub is part of your scope, the grout calculator and the paint calculator finish the material list outside the wet zone.
Bathtub installation mistakes that surface later
Installation errors rarely show on install day — they announce themselves in months. Four account for most of the callback work in tub replacements, and all four are prevented inside the sequence above:
- 1.Setting the tub level against out-of-plumb walls without shimming the studs. The tile line rides the flange; an unshimmed flange produces a grout line that wanders and a corner joint that cracks in year two. Shim at stage 04, not at tile time.
- 2.Skipping the mortar bed. A tub set on bare uneven framing flexes under load — squeaks first, then surface cracking (acrylic) or chipping (steel) at the bottom. Most manufacturers void warranties for un-bedded installs, which makes the $30 bag of sand mix the cheapest warranty in the project.
- 3.Reusing the old drain-and-overflow kit. Gaskets take a set over years and putty seals rarely survive disassembly intact; a $40–$120 new kit is cheaper than the ceiling repair under a slow weep. The overnight fill test at stage 06 is the verification that catches what the seal choices missed.
- 4.Caulking with the wrong product. Kitchen-and-bath latex caulk at the tub's change-of-plane joints fails within a season of daily wetting; 100% silicone lasts years. The joint between apron and floor, surround and pan — every movement joint — wants silicone, while grout belongs only inside the tile field.
One last failure that is a planning error rather than an install error: buying the tub before confirming the alcove and drain orientation. A left-drain tub delivered to a right-drain alcove is a return-and-lead-time disaster that two minutes of measuring at stage 01 eliminates.
Choosing well: the tub is a 20-year decision in a one-week project
Every dollar of an installation is spent once, but the material is lived with daily: acrylic forgives and insulates, steel is honest and loud, cast iron is heavy on the subfloor and generous to the bather. For households keeping a tub for kids, pets or soaking, a quality acrylic alcove at $400–$700 set on a proper mortar bed is the value default; for longevity-first budgets, cast iron earns its handling cost. Whatever the material, the installation sequence above is identical — and the cheapest failures to prevent (level, bedding, seals, shims) are all $100 decisions made while the walls are open.
Related tools & guides for the surrounding project:
- 🛁 Bathroom remodel cost calculator — the tub swap as one priced line inside a whole-room Pull & Replace budget.
- 🚿 DIY tub-to-shower conversion — when the tub leaves the room for good.
- ♿ Tub cut-out & walk-in tub guide — keeping the tub form but changing the entry.
- 🧴 Grout calculator — bag counts for the new tub surround's tile field.
- 📚 Bathroom planning & build guides — materials, waterproofing and sequence knowledge for the rest of the room.
Bathtub installation FAQ
How much does it cost to install a bathtub?+
Labor alone runs $600–$1,500 for a like-for-like tub swap in an accessible alcove, and $1,500–$4,000 all-in once the tub itself, surround, and minor drain work are counted. Cast-iron tubs, relocated drains, or surround replacement push higher. Whole-room budgets (tile, flooring, vanity together) belong to the main calculator, where the tub swap is one line of a Pull & Replace scope.
How hard is it to install a bathtub yourself?+
For a confident DIYer with helper: the tub setting itself (level, mortar bed, drain connection) is moderate — a 2–3 weekend-skill task. The boundaries are the drain-and-overflow assembly (a leak here floods the ceiling below) and any supply or valve work, which is licensed territory in most jurisdictions. First-timers should buy professional hours for the rough plumbing and DIY the setting and surround.
What type of bathtub lasts longest?+
Enameled cast iron leads on longevity — 30+ years, chip-repairable, dent-proof — followed by steel enameled tubs (20–30 years, but chip-prone and louder) and quality acrylic (15–30 years, repairable by resurfacing). Fiberglass/fiberglass-composite sits at the short end, often 10–15 years, with surface failure before structural failure.
Why is there a mortar bed under a bathtub?+
A mortar bed (or structured foam supports, per the manufacturer) distributes the tub's load and filling weight across the subfloor and prevents the bottom from flexing, which is what causes squeaks, cracking acrylic and eventual tub-bottom failure. Most manufacturers void warranties when a tub is set directly on an uneven floor without bedding — it is a $30 insurance step that takes minutes before the tub goes in.
How much does it cost to replace a bathtub with a new one?+
A like-for-like replacement — same alcove, same drain location, standard acrylic or steel tub — typically runs $1,500–$4,000 installed including the tub ($200–$900), removal, disposal and a new drain-and-overflow kit. Add $500–$1,500 if the surround is replaced at the same time, and more if the tile field extends past the wet area.
How long does a bathtub installation take?+
A straightforward replacement runs 1–2 days: removal and prep the first, set-and-connect the second, with surround and caulking cure time on top. New construction installs in an open frame run faster — half a day for the tub itself. Lead time, not labor, is the usual schedule killer: standard alcove tubs are stock items, but drop-in and cast-iron models can be special-order weeks.
Last updated: November 13, 2026 · Maintained by: the Bathroom Calculator editorial team · Costs and lifespans are typical US market planning figures; plumbing scope and permits are jurisdiction-dependent and should be confirmed with licensed professionals.